We are not affiliated, associated, authorized, endorsed by, or in any way officially connected with Fandango Interiors, or any of its subsidiaries or its affiliates. The official Fandango Interiors website can be found at https://www.fandangointeriors.co.uk.
Do you have a drawer that is difficult to slide in and out? Take a look at the runner and see if it is broken. If it is, then this article will provide instructions on how to fix the drawer runner!
Table of Contents
How do drawer runners work?
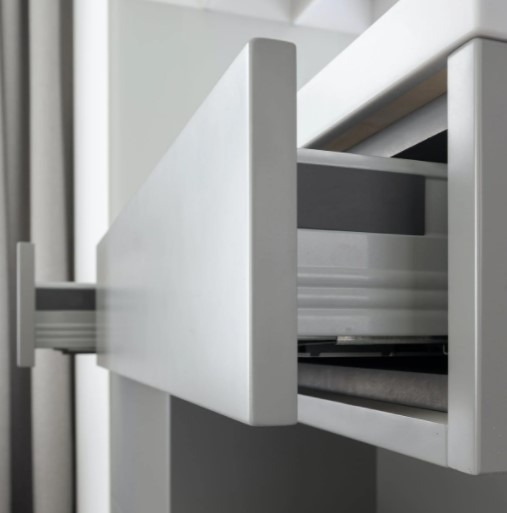
A drawer runner is placed in a sliding door or cabinet to cover the "seams" between the two sides. You can use runners instead of tape because they are less likely to peel up over time and need more work for you, as well as being stronger than any type of adhesive.
Drawer runners also have an advantage when they have the soft close feature. This will allow your drawer to shut slowly and seamlessly, without slamming.
Can you replace drawer runners?
Yes, if the drawer runner is broken you will need to purchase a replacement. You can either use an exact match of what you have or pick something that suits your needs better.
There are two options when picking out replacements: standard and self-adhesive runners. The former requires screws while the latter only needs adhesive in order to be installed on your cabinet door or sliding door frame.
Follow our instructions below for installing new runners!
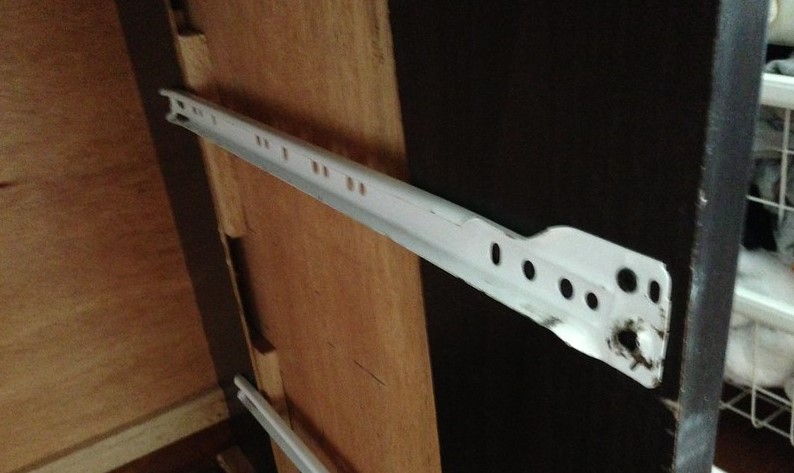
Step One: Find the side of the runner that is broken. If it's not obvious, look for a sharp piece sticking out or maybe even see if you can slide your fingernail under and pry up to tell which way is down (the opposite will be pointed upwards).
Step Two: Empty the drawer and remove the runner by pulling it out of its groove.
Step Three: Take a good look at what's holding the two ends together. This could be anything from screws to staples, depending on how you originally put the runner in place.
Step Four: Remove whatever is holding your old runner together and set aside for now.
Step Five: Put the new runner into place. You'll want to slide it in so that it's even with both sides and inside of your drawer.
Step Six: Lay down a line of masking tape from one end (the top) all the way across to the other side where you will put some screws on either side, front and back.
Step Seven: Take another screw and do the same thing, two inches from the end of what is now your runner.
Step Eight: Repeat steps six and seven over again on either side to complete this part of the project.
Step Nine: Now slide your runner back in carefully and try it out.
Step Ten: Fix any loose screws or brackets that might be hanging around with the appropriate fastener for each, such as a screwdriver if you're missing one of those, etc.
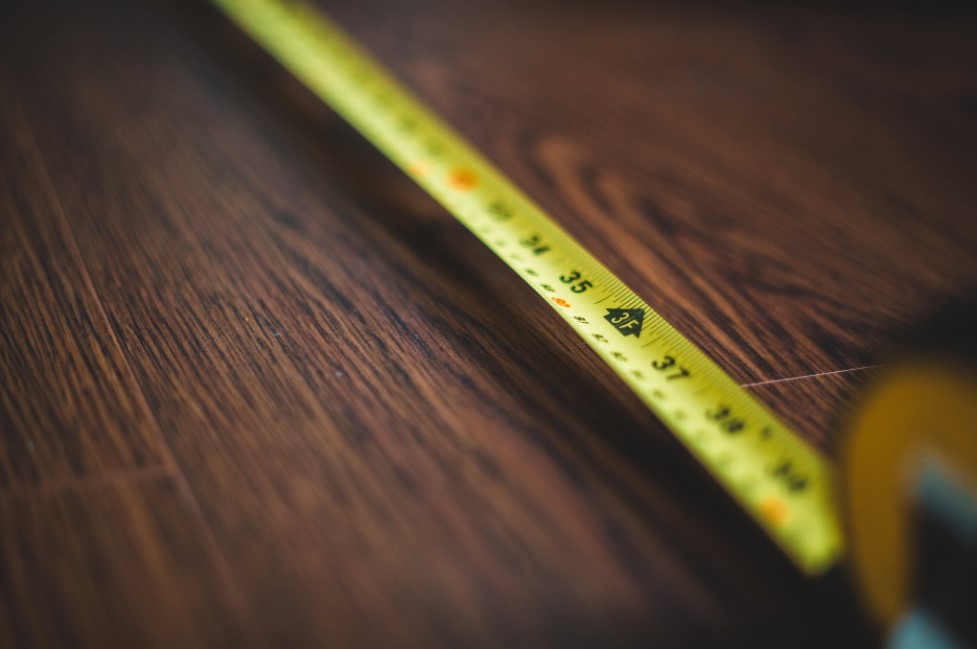
How to measure drawer width for slides
To measure drawer width for slides, measure the distance between the inside of your drawer and it's backside.
If you're wondering what size to get, then I recommend that you purchase a slide four inches wider than this measurement so there is enough space for drawers on either side.
For example, if your drawer width is 12 inches, then you would purchase a slide that's 16 inches wide.
If your drawer width is 20 inches, then the measurement should be 24 inches for the slides.